 208-855-2444

The Ultimate Guide to Water Heater Maintenance: Flushing, Descaling, and Boosting Efficiency
Your water heater is easily one of the hardest-working appliances in your home. From morning showers to the evening dishes, it’s constantly cycling to provide comfort. However, because it often tucked away in a garage or basement, it’s also the most neglected.
Over time, minerals like calcium and magnesium—which are naturally present in our Idaho water—settle at the bottom of the tank. This “sediment” creates a thick layer of sludge that forces your heater to work harder, run longer, and eventually fail prematurely. At Access Heating & Air Conditioning, we believe a little proactive maintenance goes a long way. Here is everything you need to know about keeping your water heater in peak condition.
Why You Can’t Afford to Skip the Flush
If you haven’t flushed your water heater in a few years, you might be literally burning money. Here’s how sediment buildup affects your home:
Sky-High Energy Bills: In a gas heater, sediment acts as an insulator between the burner and the water. The unit has to heat the sediment before it can even start heating the water, wasting a massive amount of energy.
The “Popping” Phenomenon: Have you ever heard a loud knocking or popping sound coming from your heater? That’s the sound of steam bubbles escaping through the layer of sediment at the bottom. It’s a clear sign your unit is struggling.
Premature Tank Failure: Sediment can cause “hot spots” on the bottom of the tank, which weakens the steel over time and leads to catastrophic leaks.
Reduced Hot Water Volume: As sediment takes up space at the bottom of the tank, there is literally less room for hot water, meaning your long showers might start turning cold much sooner than they used to.
Step-by-Step: How to Flush a Traditional Tank Water Heater
Flushing a tank is a straightforward afternoon project. If you’re a DIY enthusiast, follow these steps to clear out the muck:
1. Preparation and Safety
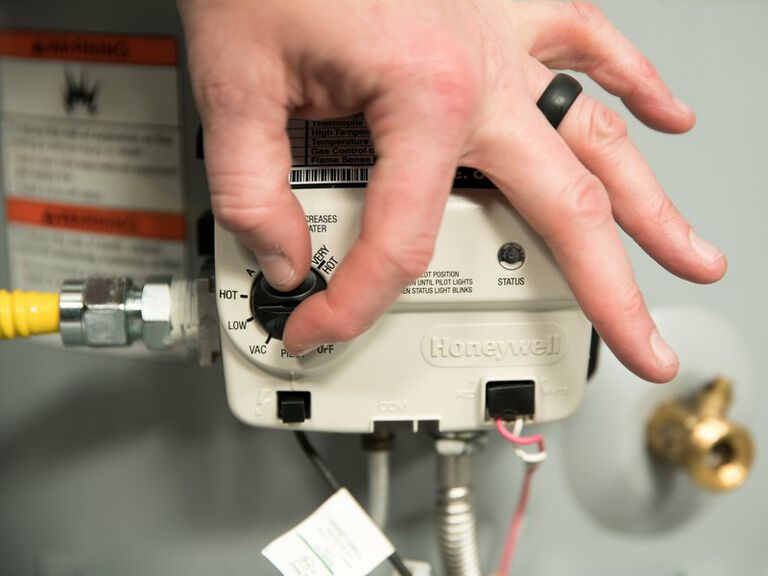
Turn off the power source. For electric heaters, flip the dedicated breaker in your main panel. For gas heaters, turn the knob on the thermostat to the “Pilot” or “Off” position.
Pro Tip: Turn the heater off 2–3 hours before you start to allow the water to cool down, reducing the risk of accidental scalds.
2. Shut Off the Water Supply
Locate the cold water inlet pipe (usually marked with a blue handle) and turn the valve clockwise until it stops.
3. Connect and Direct
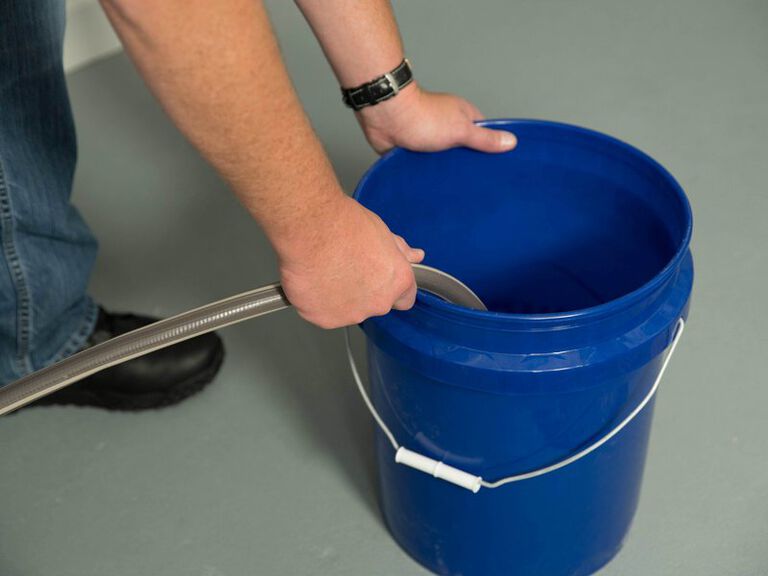
Attach a standard garden hose to the drain valve located near the bottom of the tank. Run the other end of the hose to a floor drain, a large bucket, or outside to your driveway.
4. Relieve the Vacuum
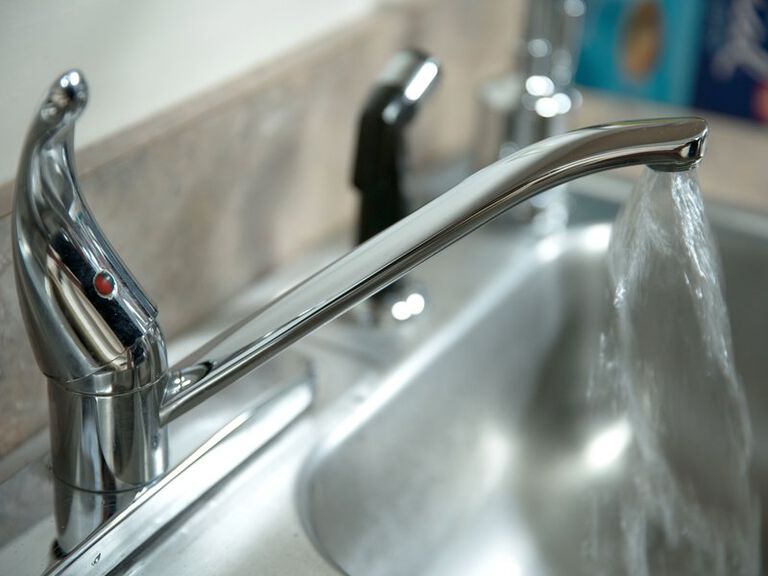
Open a hot water faucet in a nearby sink or bathtub. This allows air into the system, which breaks the vacuum and lets the water flow out of the tank freely.
5. The Flush
Open the drain valve. If the water comes out cloudy or contains “sand-like” particles, that’s the sediment leaving the tank. Once the tank is empty, turn the cold water supply valve back on in short bursts. This “stirs up” any stubborn sediment remaining on the floor of the tank. Continue until the water running through the hose is crystal clear.
6. Refilling and Restarting
Close the drain valve and remove the hose. Turn the cold water supply back on fully. Wait until the hot water faucet you opened earlier stops sputtering and shows a steady stream of water—this ensures the tank is full. Only then should you turn the power or gas back on. (Heating an empty tank will burn out electric elements instantly!)
Maintaining a Tankless Water Heater: The Descaling Process
Tankless models don’t have a tank to “flush,” but they are even more sensitive to mineral buildup. Minerals can coat the heat exchanger, causing the unit to overheat and shut down.
Use a Descaling Kit: You’ll need a small submersible pump and a “food-grade” descaling solution (specialized kits are available, or high-acidity white vinegar can work).
Isolate the Unit: Close the blue and red main water valves.
Circulate the Solution: Connect the pump hoses to the service ports. Submerge the pump in a 5-gallon bucket of solution and let it circulate through the unit for 45 to 60 minutes.
Rinse: Flush the unit with fresh water for 5 minutes after descaling to ensure no cleaning solution remains in your drinking water.
Clean the Filter: Tankless units have a small “inlet screen” that catches debris. Unscrew it, rinse it off, and pop it back in.
When to Call the Experts at Access Heating
While many homeowners can handle a basic flush, some situations require a professional touch. You should give us a call if:
The Drain Valve Leaks: Often, older valves won’t seal properly after being opened for the first time in years.
The Water Won’t Drain: If the sediment is too thick, it may block the valve entirely. We have specialized tools to clear these blockages safely.
Anode Rod Inspection: While flushing, it’s the perfect time to check your Anode Rod—the “sacrificial” rod that prevents your tank from rusting. If it’s depleted, your tank is next on the menu for corrosion.
Want to skip the hassle? Let the pros handle it! Regular maintenance is the cheapest insurance policy you can buy for your home’s plumbing.
Frequently Asked Questions
Skipping regular flushing lets sediment pile up at the bottom of your tank, which forces your water heater to work harder and use more energy. Over time, this buildup can damage internal components, reduce your unit’s lifespan, and drive up your monthly utility bills.
Start by turning off the power (for electric models) or gas supply (for gas models). Attach a garden hose to the drain valve and run it to a floor drain or outside. Open the drain valve to let the tank empty, and turn on a hot water faucet somewhere in your house. This allows air into the system, allowing water to drain smoothly.
Most water heaters take 20 to 40 minutes to drain completely. If you haven’t flushed your tank in a while, heavy sediment buildup can slow the flow and extend the process.

 208-855-2444